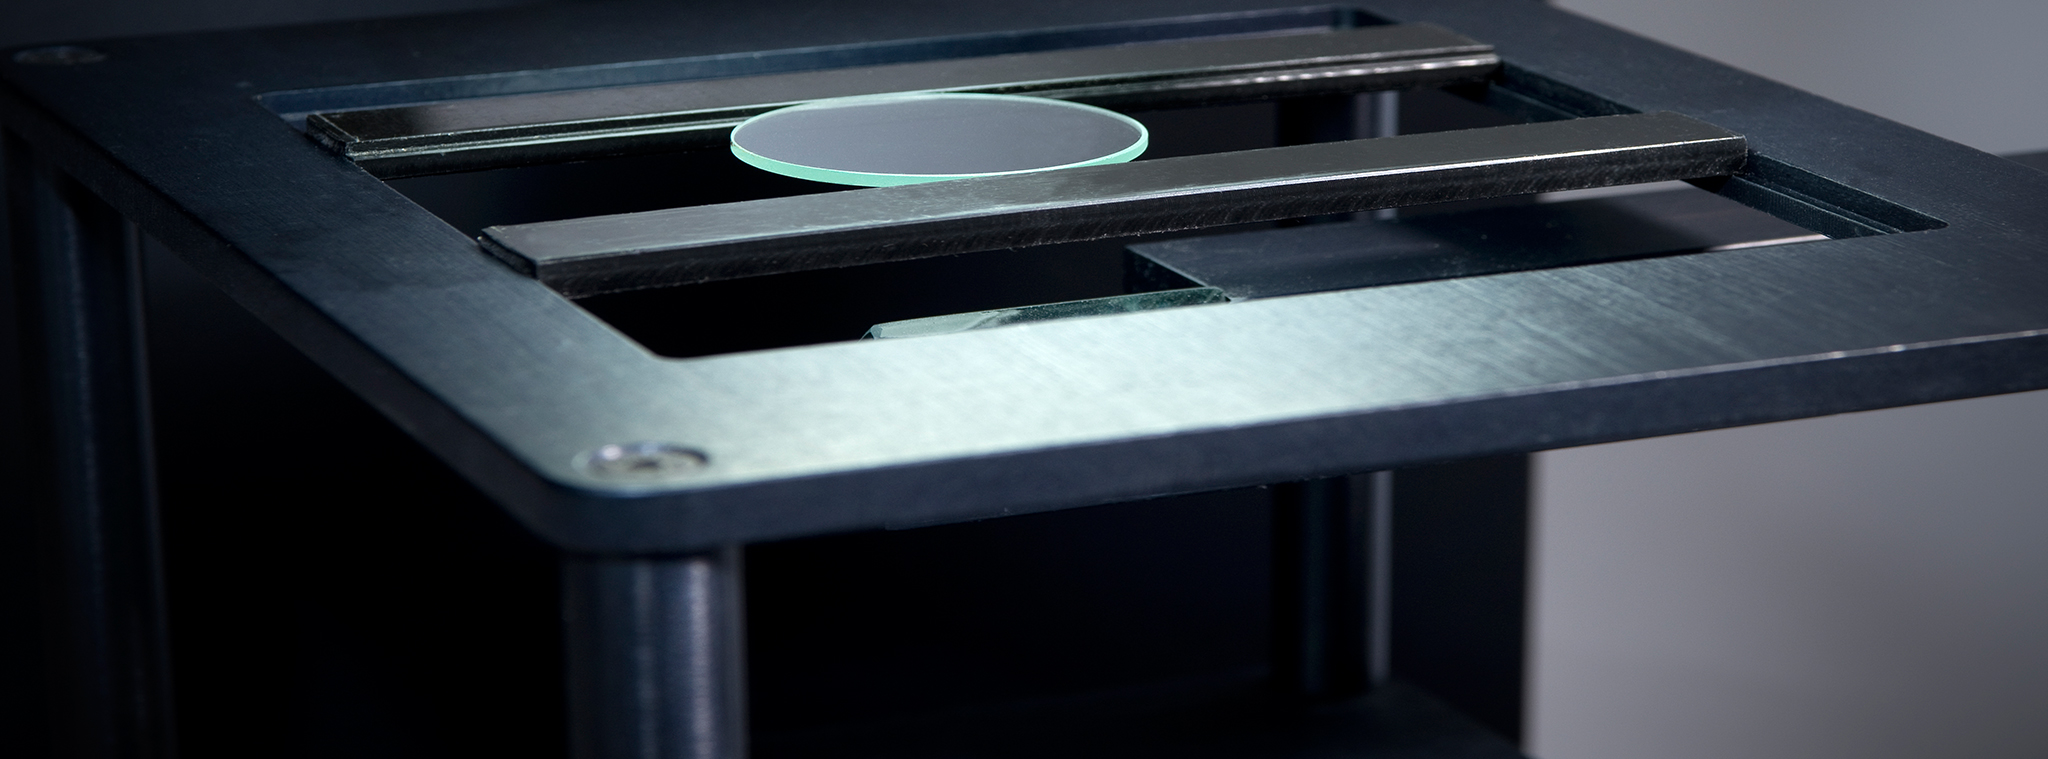
IR-574/301 Blackbody SystemThe perfect blend of innovative design and state of the art technology
IR-574/301 Blackbody System
The IR-574 Series blackbody reference sources are designed to provide infrared radiation as an ideal blackbody emitter. The output energy from the 2.25" Cavity closely follows the theoretical maximum energy curve described by Max Planck's equation, and allow users to calibrate, align, and measure infrared devices and phenoma of all types. Using the integral aperture wheel, the infrared flux can be varied by known amounts without disturbing critical optical setups, and combining apertures and distance changes, the flux at any point can easily be determined. The IR-574 is an ideal source for the Near (1-3 um), Mid (3-8) and Far (8-30+ um) infrared bands. The IR-574 extends the temperature range to 1200ºC by using special SiC cavity materials with high emissivity.
System Operation
The 20º tapered - recessed - cone, surface emissivity, and cavity aspect ratio combine to provide blackbody radiation by multiple reflection, absorption and re-emission of it's thermal energy. The thermal energy of the cavity is provided by a ceramic-sealed heater coil that uniformly heats the cavity cylinder to temperatures from 50ºC to 1200ºC. The IR-574 is covered by a one-year warranty.
SYSTEM SPECS |
|||||
|---|---|---|---|---|---|
| FEATURE | SPECIFICATION | ||||
| Temperature Range | 50 – 1200 C |
||||
| Emittance Watts/Cm^2 (Watts) | 26.68 (684) |
||||
| Inspection Area | One mm square in center FOV Allows isolation of specific imperfection for evaluation |
||||
| X-Y Stages | Manual encoded x, y slide stage with >100mm travel Encoders read out distance moved since last mouse click allowing rapid evaluation of scratch length |
||||
| Focus | System can measure coated or uncoated parts, filters, windows, splitters, cubes, and prisms. Standard calibration files for metalized comparison standards are provided. Some custom calibrations or part fixturing may be required. |
||||
| Test Surface Reflectivity | Plano or mild concave surface Designed for flat parts, but long radius concave parts can also be inspected |
||||
| Reported Values | Scratch number- 10, 20, 40, 60, 80 Dig value – continuous from 5 to 70 ISO Grade – 0.063 to 0.63 Per MIL-PRF-13830B and ANSI/OEOSC OP1.002, visibility method ISO 10110-7 general and coating imperfections only |
||||
| Comparison Standards | Factory calibrated to FLIR/Brysen, Davidson comparison artifacts, as well as various plastic inspection paddles Customer can generate and save calibration files for any artifact set
|
||||
| Instrument Repeatability | > 95% repeatability of reported scratch or dig grade Presumes > 20 measurements of a clean surface in a proper environment of a stationary part |
||||
| Instrument Reproducibility | > 90% reproducibility of reported scratch or dig value Presumes the clean part is removed, replaced and repositioned to the same location > 20 times |
||||
